 English
 русский
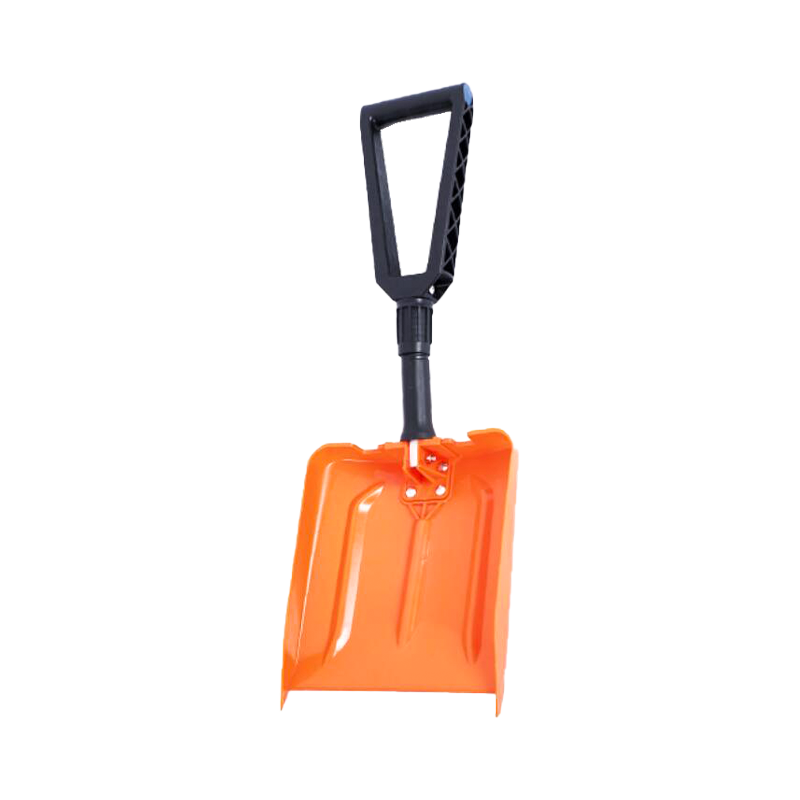

+86-18266975997
Assembly of Removable Lightweight Snow Roof Rake With Wheels
Tools and Components Needed for Assembly
Before starting the assembly of your Snow Roof Rake, make sure you have all the necessary components and tools. Here is a list of the parts you will likely find in the package:
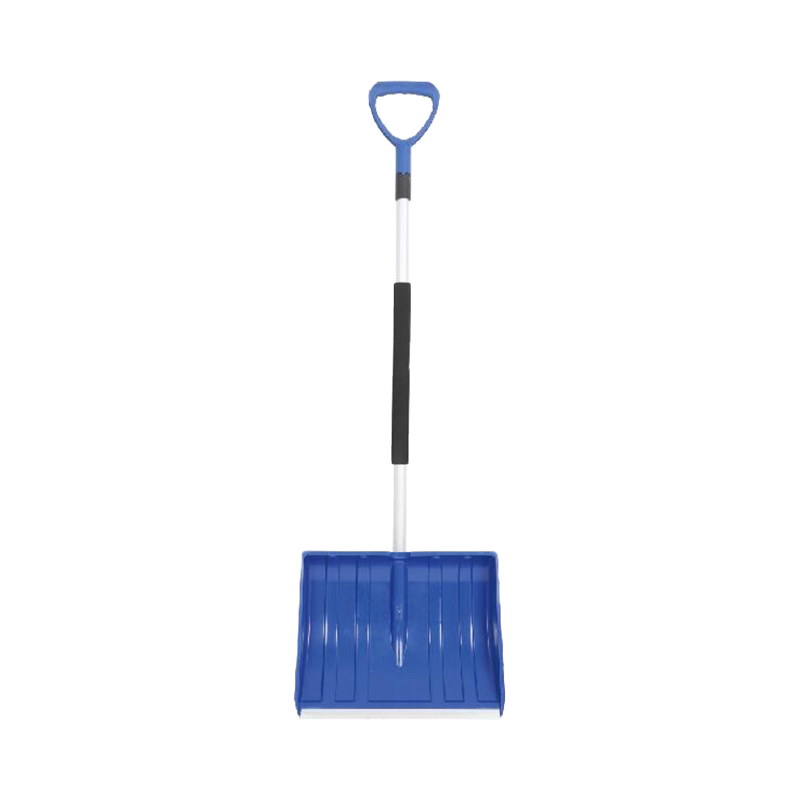
Extendable Handle: Usually made of lightweight aluminum or another durable material, this handle is designed to be long enough to reach the edge of the roof from the ground.
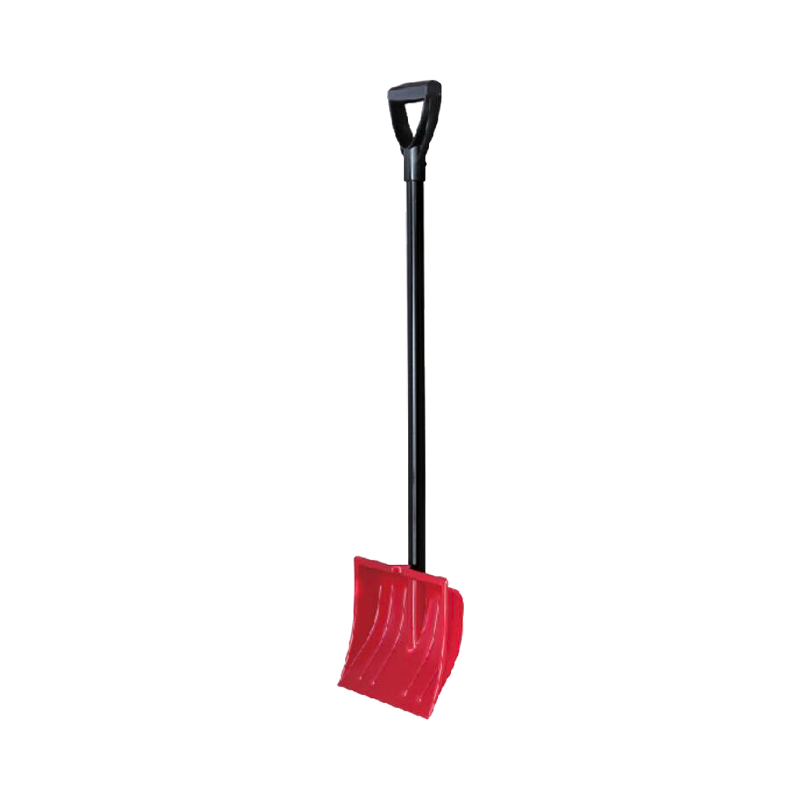
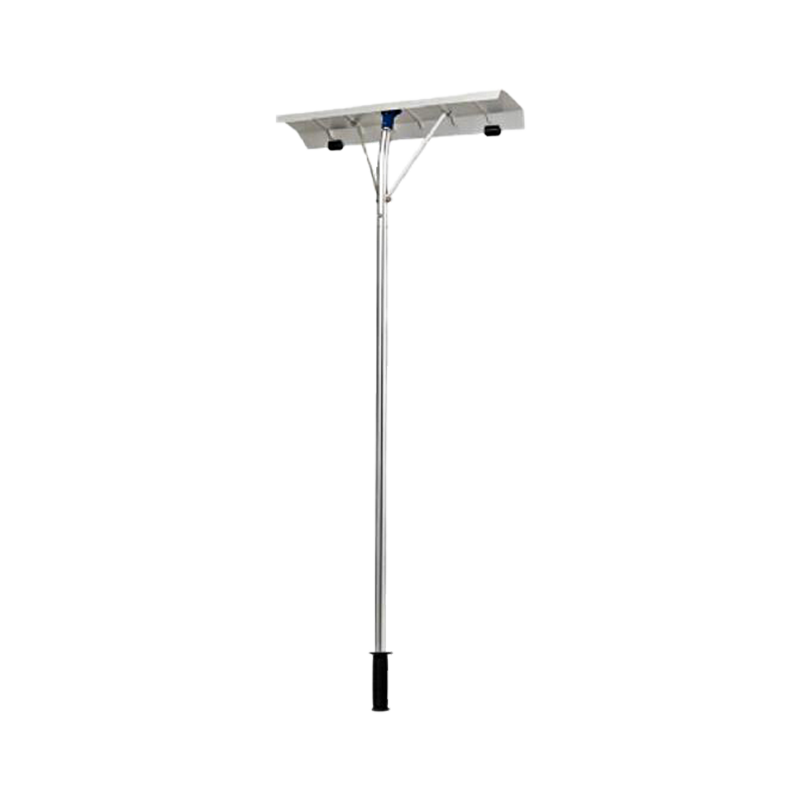
Rake Head: This is the part of the tool that contacts the snow. It typically features a wide blade with edges designed to remove snow efficiently while protecting the roof.
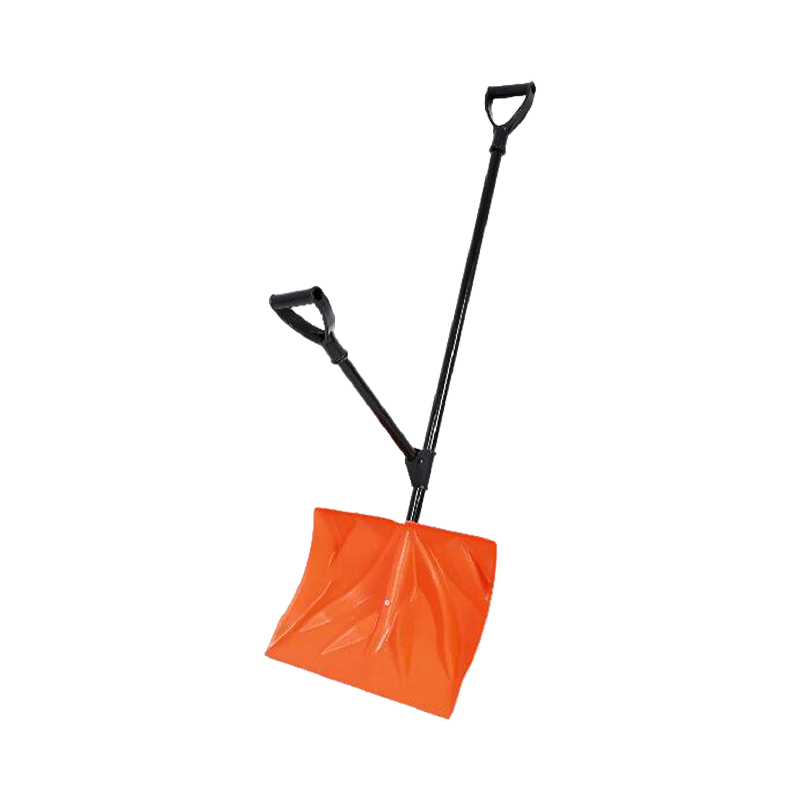
Wheels: These are attached to the rake head or the handle and help with maneuverability.
Assembly Bolts and Screws: These fasteners will be needed to securely attach the components together.
Wrench or Screwdriver: Depending on the type of fasteners provided, a wrench or screwdriver may be needed to tighten the bolts and screws.
Instruction Manual: This will guide you step-by-step through the assembly process. It's always a good idea to refer to this for specific instructions related to your model.
Step-by-Step Assembly Instructions
Step 1: Unbox and Inspect Components
The step in the assembly of your Snow Roof Rake is to unbox all the parts and ensure that nothing is missing or damaged. Check the instruction manual to verify that all components are included. Lay everything out in a clean, spacious area to make the assembly process easier.
Step 2: Attach the Wheels to the Rake Head
The wheels of the Snow Roof Rake are essential for smooth operation, as they allow for better control when pulling the rake across the roof. Begin by attaching the wheels to the rake head. Typically, this will involve aligning the wheel mounts with the pre-drilled holes on the rake head. Use the provided bolts and screws to secure the wheels tightly. Be sure to check the tightness of the bolts once assembled, as loose wheels can bring about unstable operation.
Step 3: Attach the Rake Head to the Handle
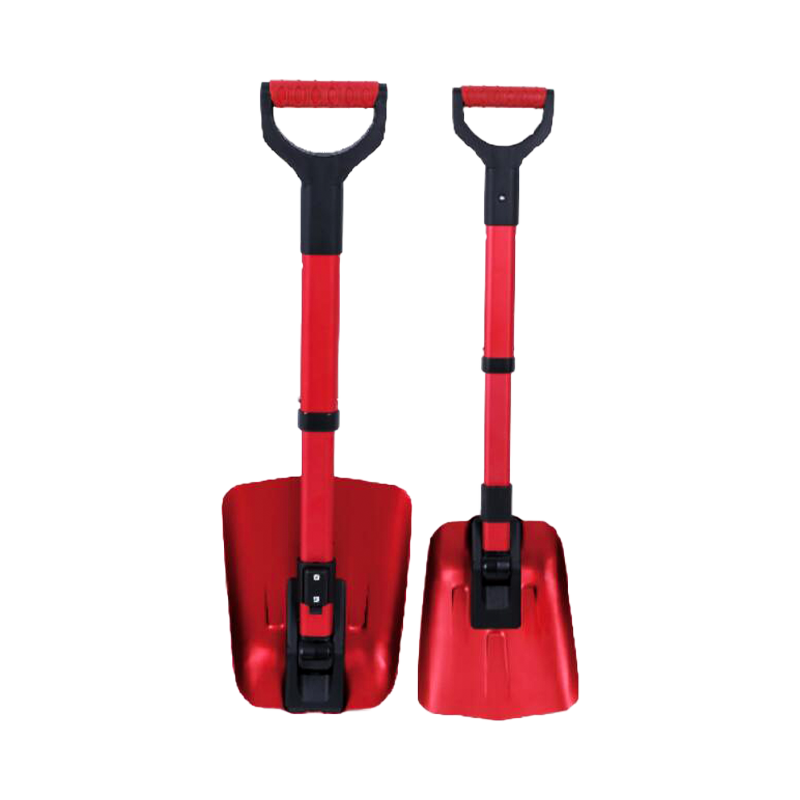
After the wheels are in place, it's time to attach the rake head to the extendable handle. Many models of the Snow Roof Rake feature a telescoping handle, which can be adjusted in length to reach higher parts of the roof. Slide the rake head onto the end of the handle, ensuring that it fits securely. Some models may require you to tighten a bolt or a locking mechanism to keep the rake head from shifting during use. Follow the manufacturer's instructions carefully to avoid any instability.
Step 4: Secure the Handle Sections
If your Snow Roof Rake has multiple handle sections for extension, you will need to lock these pieces together. Align the sections, and then tighten the locking mechanism or screws to hold them in place. This ensures that the handle remains firm and does not collapse or slide during use. The telescoping handle should fit securely into the rake head without wobbling.
Step 5: Double-Check All Connections
Once the rake head is attached to the handle, and the wheels are securely in place, double-check all connections. Tighten any loose bolts or screws to ensure that the rake is stable and ready for use. Test the telescoping mechanism of the handle to confirm that it extends and locks properly. The goal is to ensure that all parts are securely fastened to prevent any issues during operation.
Step 6: Final Test and Adjustment
After the Snow Roof Rake is fully assembled, it's important to do a final test before using it on your roof. Stand the rake upright and check its balance. Ensure that the rake head is aligned correctly and that the wheels roll smoothly. If your model has an adjustable handle, test the telescoping feature by extending it to its full length and locking it in place.
You may also want to practice using the rake on flat ground, before attempting to clear snow from your roof. This gives you an opportunity to get comfortable with the tool and ensure that it functions properly.


contact
Get in touch
Message Me
Contact info
Leave your name and email address, we' ll get back to you soon.
-
 Phone
Phone -
 Whatsapp
+86-18266975997
-
 E-mail
sales3@china-chaoyang.com
-
 Address
No.8 Shenliu Xiaowei Garden, Niubeijin Industrial Zone, Wuyi County, Jinhua City, Zhejiang Province, China
Copyrighte 2023 Wuyi Chaoyang Plastic Co., Ltd. All Rights Reserved.
